
Introduction
Spring is a time of renewal and vibrant colors, making it the perfect season to refresh your look and embrace creativity through charming nail art. As the flowers bloom and the days grow longer, many of us feel inspired to celebrate the beauty of this season in our own unique ways. Nail art serves as a delightful canvas for self-expression, allowing you to transform your nails into tiny works of art that reflect your personality and mood. Whether you’re a seasoned nail artist or a beginner just dipping your toes into the world of DIY nail designs, there are countless ideas that you can easily create at home.
The beauty of nail art lies in its accessibility; you don’t need to be a professional to craft stunning designs. With just a few essential supplies and a little imagination, you can adorn your fingertips with playful patterns that bring joy and cheer. Nail art can also be a mood booster, providing a sense of accomplishment and a little sparkle to your daily routine. So, grab your favorite nail polishes, and let’s explore some charming nail art ideas that will help you welcome spring in style!
“Creating a cozy reading nook is all about maximizing comfort in a small space. It’s about intentional design that serves both function and feeling.”
– Interior Design Magazine
Essential Nail Art Supplies You’ll Need
Before diving into the world of nail art, it’s crucial to gather the right supplies. Having a well-stocked nail art kit makes the process smoother and more enjoyable. Here’s a list of essential tools and products to get you started:
| Supplies | Purpose | Recommended Brands |
|---|---|---|
| Nail Clippers | To trim nails to your desired length | Revlon, Tweezerman |
| Nail Files | To shape and smooth edges of nails | Essie, OPI |
| Cuticle Pusher | To push back cuticles for a neat appearance | Sephora, Sally Hansen |
| Nail Polish | Base color and designs | China Glaze, Essie |
| Dotting Tools | For creating dots and intricate designs | Born Pretty, Nicole Diary |
| Nail Brushes | For detailed painting and line work | Red Carpet Manicure, OPI |
| Sponges | For gradient effects | Makeup sponges, Beauty Blenders |
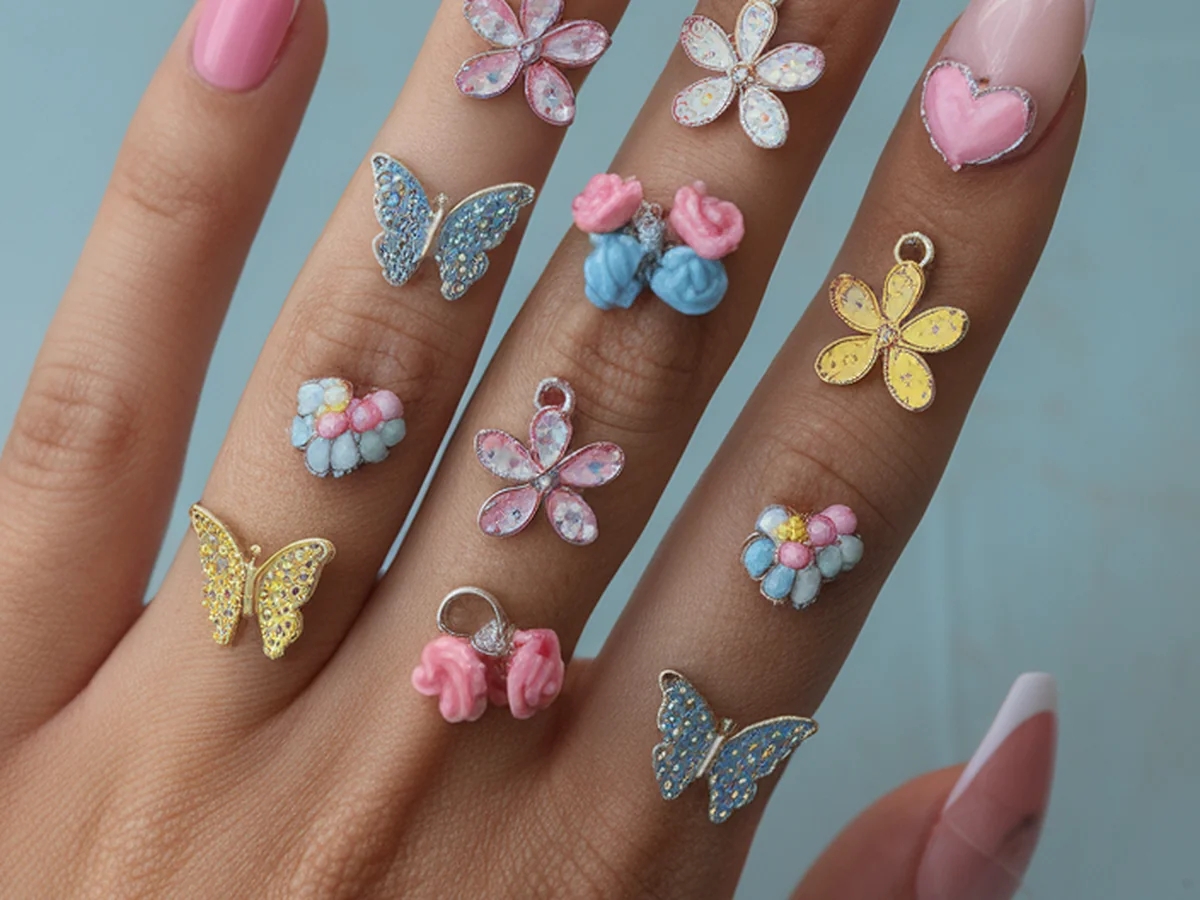
In addition to the basics, consider adding some optional supplies to enhance your designs. Nail stickers, gems, and decals can elevate your nail art game, allowing for more intricate and creative expressions. With these supplies in hand, you’re all set to explore various nail art techniques and bring your spring makeover to life!
Pastel Ombre Nails: A Soft Transition
One of the most popular and visually appealing nail art styles for spring is the pastel ombre effect. This technique creates a beautiful gradient that mimics the soft colors of spring blossoms. Here’s how you can achieve this effect at home:
1. Prep Your Nails: Start with clean, trimmed, and filed nails. Apply a base coat to protect your nails and ensure your polish adheres well.
2. Choose Your Pastel Colors: Select two to three pastel shades that complement each other. Some lovely combinations include lavender, mint green, and baby pink or light blue, soft yellow, and peach.
3. Apply the Base Color: Paint your nails with one of the chosen pastel colors as a base. Allow it to dry completely.
4. Create the Ombre Effect: Use a makeup sponge to apply the second color. Dab the sponge into the polish and gently press it onto the tip of your nail, working downward. Repeat with the third color if desired, blending as you go.
5. Blend Smoothly: To achieve a seamless transition, gently dab the sponge where the colors meet. You can also use a clean brush to smooth out any harsh lines.
6. Finish with a Top Coat: After the ombre effect is dry, seal your design with a clear top coat for shine and protection.
For added flair, consider pairing your pastel ombre nails with floral designs. A few small hand-painted flowers or floral stickers can beautifully complement the soft ombre effect. This combination not only showcases your creativity but also captures the essence of the spring season.
Floral Nail Art: Bringing Nature to Your Nails
Nothing says spring quite like flowers, and incorporating floral designs into your nail art is a delightful way to celebrate the season. Floral nail art can range from simple to intricate, making it suitable for all skill levels. Here are some straightforward techniques to get you started:
1. Basic Flower Technique: Using a dotting tool, you can create simple flowers by placing dots in a circular pattern. Start with a central dot in a contrasting color, then add petals around it for a daisy-like appearance.
2. Popular Flower Designs: Some of the most beloved floral designs include:
– Daisies: Simple and cheerful, perfect for any nail art enthusiast.
– Tulips: A bit more detailed, they can add elegance to your manicure.
– Cherry Blossoms: These delicate flowers symbolize spring and can be painted with fine details.
3. Color Palettes: When choosing colors, consider using soft pastels for a light, airy feel or vibrant colors for a bold statement. A combination of pinks, yellows, and greens can create a fresh spring look.
4. Incorporating Floral Designs: You can either create a full floral manicure or use floral designs as accents on a few nails. For instance, paint a floral design on your ring finger while keeping the rest of your nails in a solid color for a chic contrast.
By bringing nature to your nails, you not only embrace the spirit of spring but also create a stunning visual display that inspires positivity and joy.
Geometric Patterns: Modern Spring Designs
For those who prefer a more contemporary look, geometric nail art offers a modern twist that’s both stylish and fun. This design is characterized by clean lines and bold shapes, making it perfect for anyone looking to make a statement. Here’s how you can create striking geometric patterns at home:
1. Understanding Geometric Nail Art: This style often incorporates triangles, stripes, and squares, allowing for endless creative possibilities. The appeal lies in the contrast of colors and the precision of the shapes.
2. Creating Clean Lines: To achieve crisp lines, consider using the tape method. Simply place strips of tape on your nails in your desired pattern, paint over them, and once dry, carefully peel the tape away to reveal sharp lines.
3. Color Combinations: Choose colors that pop while still feeling fresh for spring. For instance, a combination of soft pink, teal, and white can create a playful yet sophisticated look. Alternatively, try bold colors like royal blue, sunny yellow, and bright orange for a more vibrant approach.
4. Mixing Patterns: Don’t be afraid to combine geometric patterns with other designs. For example, you could create a geometric pattern on some nails while opting for floral designs on others. This mixed approach adds depth and interest to your overall manicure.
Geometric nail art is not only trendy but also encourages you to experiment with shapes and colors, making it a fantastic choice for those eager to express their individuality.
Watercolor Nails: A Trendy Technique
Watercolor nails have taken the nail art world by storm, offering a dreamy, artistic effect that’s perfect for spring. This technique mimics the fluidity of watercolor paintings, resulting in soft, blended colors. Here’s how to achieve this whimsical look:
1. Understanding the Watercolor Method: This technique involves diluting nail polish with a clear base or top coat to create a sheer, wash-like effect. The result is a soft, ethereal look that feels light and airy.
2. Recommended Tools: To create watercolor nails, you’ll need:
– A clear base coat or top coat for dilution.
– A small brush for application.
– Your choice of nail polish colors, ideally in pastel or soft shades.
3. Step-by-Step Tutorial:
– Prep Your Nails: Start with clean, trimmed nails and apply a base coat.
– Dilute Your Polish: Mix a small amount of polish with a clear top coat to achieve a watery consistency.
– Apply the First Color: Using your brush, dab the diluted polish onto your nails, allowing the color to blend gently. You can layer different colors while they’re still wet for a more blended effect.
– Add Depth with Layers: Once the first layer dries, you can add more colors or touch up areas for a more pronounced effect.
– Finish with a Top Coat: Seal your design with a clear top coat for added shine and protection.
4. Pairing Watercolor Nails: To keep your look cohesive, pair watercolor nails with minimalistic designs, such as simple stripes or dots, on your other nails. This allows the watercolor art to stand out while still maintaining a balanced look.
Watercolor nails are a fantastic way to showcase your artistic side without the need for intricate detail work. With a little practice, you’ll be able to create a stunning, painterly effect that will turn heads wherever you go.
Accent Nails: A Simple Yet Stylish Choice
If you’re looking for a chic and straightforward way to elevate your nail art, consider the popular trend of accent nails. This technique involves painting one or two nails in a different design or color from the rest, adding a touch of flair without overwhelming your overall look. Here’s how to master the art of accent nails:
1. What Are Accent Nails?: Accent nails are a fun way to incorporate more creativity into your manicure without committing to an entirely different design on every nail. They allow you to play with different colors, patterns, and textures.
2. Ideas for Accent Nail Designs: The possibilities are endless when it comes to accent nails. Here are a few ideas to inspire you:
– Glitter Accent: Apply a glitter top coat to one or two nails for a touch of sparkle.
– Patterned Accent: Use floral or geometric designs on your accent nails while keeping the rest in a solid color.
– Contrasting Colors: Choose a bold color for your accent nails that contrasts beautifully with your base color.
3. Coordinating Your Look: When choosing accent nails, ensure they complement the rest of your manicure. For instance, if your base color is light pink, consider a glitter or metallic accent in gold or silver for a sophisticated touch.
4. Inspiring Combinations: A classic combination is a nude base with a glittery accent nail. Alternatively, you could have a pastel base with a vibrant floral accent nail, celebrating the essence of spring while keeping it stylish.
Accent nails are a fantastic way to express your creativity and individuality without the need for extensive nail art skills. They allow you to play with different designs and colors, making your spring manicure uniquely yours.
Seasonal Themes: Embrace Spring with Nail Art
As spring unfolds, it brings along a variety of themes and holidays that can inspire your nail art creations. From Easter festivities to cherry blossom celebrations, there are countless seasonal motifs to explore. Here are some ideas to embrace spring through themed nail art:
1. Embracing Seasonal Themes: Think of themes that resonate with the essence of spring. For example, you could draw inspiration from:
– Easter: Paint little bunnies, eggs, and pastel colors.
– Cherry Blossoms: Incorporate delicate pink blossoms for a serene look.
2. Holiday Nail Art Ideas: Seasonal holidays offer a great opportunity to get creative with your nail art. For Easter, consider using nail stickers to quickly add cute designs like eggs or bunny faces. For cherry blossom season, painting branches with flowers can create a beautiful homage to nature.
3. Creating Cohesive Looks: To achieve a cohesive look, choose a color palette that reflects your theme. For instance, soft pinks and whites work beautifully for cherry blossoms, while pastel colors are perfect for Easter.
4. Inspiration for Color Choices: Consider using a base color that aligns with your theme, then incorporate designs that showcase the spirit of the season. Using thematic stickers or decals can also save time while ensuring your nails look polished and intentional.
By embracing seasonal themes, you not only celebrate the beauty of spring but also create nail art that tells a story. This allows you to connect with the season in a fun and imaginative way.
Nail Care Tips for a Healthy Spring Makeover
While nail art is a wonderful way to express yourself, it’s essential to prioritize nail health to ensure your stunning designs look their best. Here are some nail care tips to keep your nails healthy before and after your spring makeover:
1. Importance of Nail Care: Healthy nails provide a better canvas for nail art. Before applying polish, ensure your nails are clean, trimmed, and free from any damage. A well-maintained nail bed enhances the overall appearance of your designs.
2. Treating Damaged Nails: If your nails are brittle or damaged, consider using strengthening treatments. Products containing keratin or calcium can help rebuild weak nails, making them more resilient to polish and designs.
3. Daily Nail Care Tips: To maintain healthy nails, incorporate the following into your daily routine:
– Hydrate your cuticles with oils or creams.
– Avoid using nails as tools to prevent breakage.
– Regularly file nails to maintain shape and prevent splits.
4. Removing Nail Art Safely: When it’s time to change your nail art, be gentle during removal to avoid damaging your nails. Soak a cotton ball in nail polish remover and press it against your nail for a few seconds before wiping away the polish. This method minimizes damage to your natural nails.
Taking care of your nails is just as important as creating beautiful designs. By following these tips, you can ensure that your nails remain healthy and vibrant, ready for your next spring-inspired nail art adventure.
Conclusion
Spring nail art is a joyful expression of creativity and individuality, offering a delightful way to welcome the season. With a plethora of charming designs at your fingertips, the possibilities for self-expression are endless. Whether you opt for soft pastel ombre nails, vibrant floral patterns, or modern geometric designs, each manicure can reflect your personality and mood.
As you experiment with different techniques and themes, remember to have fun and personalize your designs. Your nails can be a canvas for your imagination, a way to celebrate the beauty of spring, and an opportunity to share your artistic flair with others.
We encourage you to showcase your creations and experiences—share your nail art journey with friends or on social media, inspiring others to embrace their creativity. After all, nail art is not just about aesthetics; it’s about celebrating your unique style and enjoying the process of self-expression.
Frequently Asked Questions
What are the best nail polish colors for spring?
Spring is all about bright and pastel colors that reflect the blooming nature around us. Some of the best choices include soft pinks, mint greens, lavender, baby blue, and sunny yellows. These colors not only capture the spirit of spring but also complement various designs, making them versatile options for your nail art.
How can I prevent my nails from chipping after applying nail art?
To prevent chipping, start with a good base coat to protect your nails. Ensure that each layer of polish is dry before applying the next, and finish with a top coat for added durability and shine. Additionally, avoid using your nails as tools and consider wearing gloves when doing chores to protect your manicure.
Can I do nail art on short nails?
Absolutely! Nail art can be successfully applied to short nails. In fact, some designs, such as intricate patterns or small flowers, can look even more stunning on shorter nails. Embrace your nail length and choose designs that you feel comfortable with, whether that’s a full manicure or simple accents.
How often should I change my nail art?
The frequency of changing your nail art depends on your personal preference and nail health. Many people enjoy switching up their designs weekly or bi-weekly. However, if you notice any damage or peeling, it’s a good idea to remove the polish and allow your nails to breathe for a few days before reapplying.
What should I do if my nails are damaged after removing nail polish?
If your nails are damaged, give them time to recover. Use a nourishing cuticle oil or nail strengthener regularly to promote healing. Avoid using harsh chemicals and give your nails a break from polish for a short period. If the damage persists, consider consulting a nail care professional for personalized advice.