
Introduction
Spring is a delightful season that brings a sense of renewal and creativity as nature awakens from its winter slumber. With flowers blooming, birds chirping, and the sun shining, it’s the perfect time to embrace fresh ideas and express your individuality. One fantastic way to celebrate this vibrant season is through DIY nail art. Not only is it a fun activity, but it also allows you to showcase your artistic flair right from the comfort of your home.
Creating beautiful nail designs might seem daunting, but it’s incredibly accessible with just a few simple tools and materials. Whether you’re a seasoned nail artist or a complete novice, you can easily transform your nails into a canvas for your spring-inspired creations. So, why not roll up your sleeves, gather your supplies, and let your creativity flow? Experimenting with colors, patterns, and textures will not only brighten your look but will also fill you with joy as you embrace the spirit of spring.
“Creating a cozy reading nook is all about maximizing comfort in a small space. It’s about intentional design that serves both function and feeling.”
– Interior Design Magazine
Essential Tools and Materials for DIY Nail Art
Before diving into the world of nail art, it’s essential to have the right tools at your disposal. Here’s a list of basic items you’ll need:
| Tool | Purpose | Recommended Quantity |
|---|---|---|
| Nail Polish | Base color and designs | 3-5 shades |
| Nail Brushes | For detailed designs | 2-3 different sizes |
| Dotting Tools | Create dots and patterns | 1-2 |
| Nail Tape | For geometric designs | 1 roll |
When it comes to color selection, spring is the perfect time to explore a palette of soft pastels, vibrant florals, and bright hues that reflect the joy of the season. Think shades like lavender, mint green, soft peach, and baby blue. Don’t forget the importance of a base coat to protect your nails and a top coat to ensure your designs shine and last longer.
If you want to add some extra flair to your nail art, consider incorporating decorative items such as glitter, rhinestones, and decals. These embellishments can make your designs pop and give them a more polished look. The key is to let your imagination run wild and have fun with the process!
Pastel Perfection: Soft Spring Colors
Pastel colors have become synonymous with spring, evoking a sense of tranquility and fresh beginnings. Popular shades include soft lavender, mint green, and delicate peach, which can create a serene and chic look. To achieve pastel perfection, you can experiment with blending and layering techniques to create a more dynamic effect. For instance, painting your nails with a base of mint green and then adding a layer of lavender can create a lovely, soft gradient.
Ombre effects are particularly striking when using pastels. To create an ombre look, start with a light color at the base of your nail and gradually blend into a darker pastel at the tips. This can be achieved by using a makeup sponge; simply dab the sponge in the two shades of polish and gently apply it to your nails, blending the colors together for a seamless transition.
Pairing your pastel nails with your spring wardrobe is another way to enhance your look. Pastels complement a variety of outfits, from floral dresses to denim jackets. The gentle hues will tie your entire outfit together while still making a statement. So, whether you’re going for brunch or a picnic in the park, your pastel nails will be the perfect finishing touch.
Floral Fantasy: Nail Designs Inspired by Spring Blooms
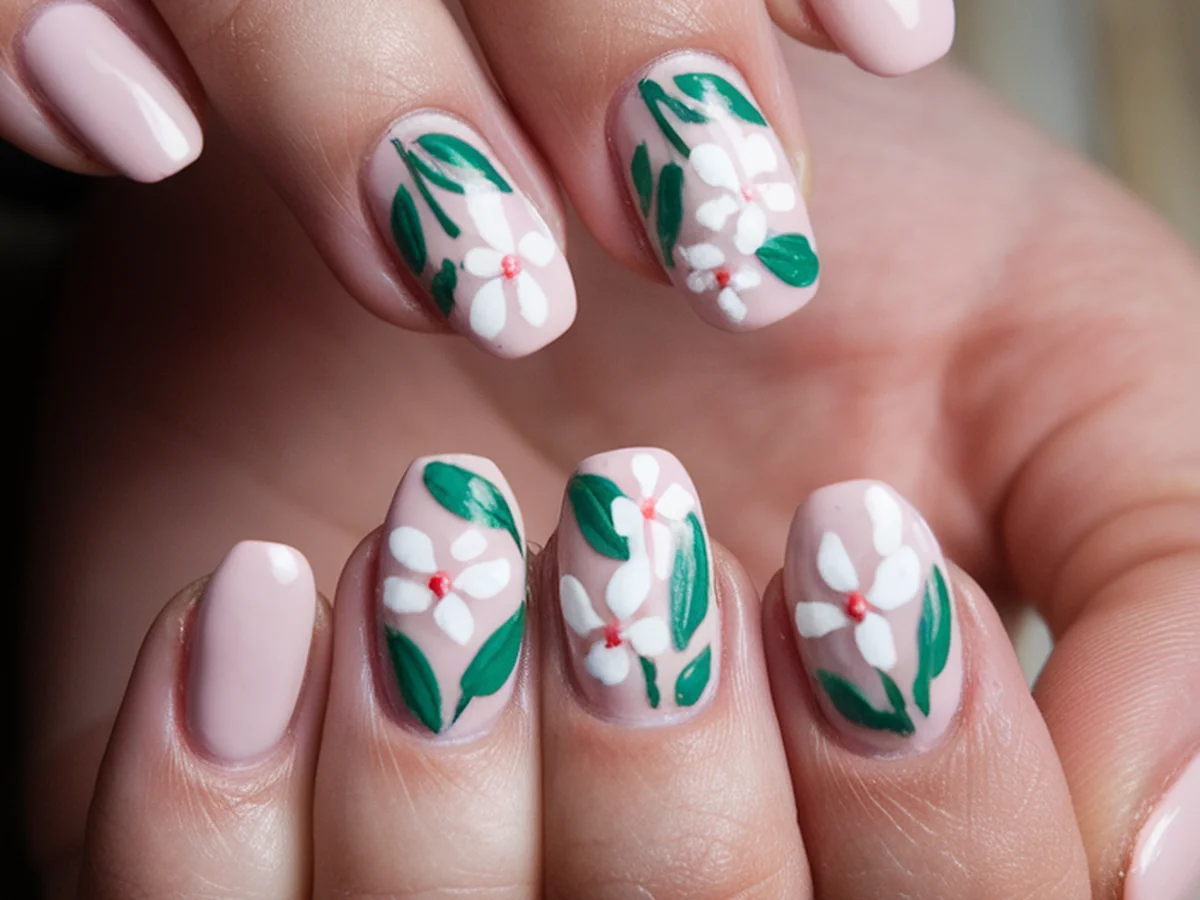
Spring is synonymous with blooming flowers, making floral designs a delightful choice for your nails. Creating simple flower designs, like daisies and tulips, can be easy and fun. Start with a light base coat, then use a small brush or dotting tool to create flower petals in a contrasting color. For daisies, simply create white dots around a yellow center, while tulips can be formed with simple triangles.
You can also use nail tape to create geometric floral patterns. By placing tape strategically on your nails, you can create sections to fill with different colors, resulting in a beautiful floral design that looks intricate but is easy to achieve. If you’re looking for a more professional touch, consider using floral decals. These can be applied over your base coat and sealed with a top coat for a flawless finish.
Take inspiration from nature by incorporating color palettes found in gardens. For instance, a design featuring pink tulips paired with green leaves or a lavender field can translate beautifully onto your nails.
“Flowers are the music of the ground. From earth’s lips they speak.”
– Edwin Curran
Geometric Glam: Modern Shapes and Lines
Geometric nail art has surged in popularity due to its modern and chic aesthetic. This trend appeals to those who appreciate clean lines and bold shapes. To get started, you’ll need nail tape to create sharp edges and distinct shapes. Simply apply the tape to your nails in the desired pattern, paint over it with your chosen colors, and carefully remove the tape to reveal crisp lines.
Mixing colors effectively in geometric designs can elevate your nail art. Consider using complementary shades or contrasting colors to make your patterns pop. For example, pairing a bright yellow with a deep navy can create a stunning visual contrast. Popular geometric patterns include triangles, chevrons, and stripes, which can all be adapted to fit your personal style.
These designs are versatile and can be worn for various occasions, from casual outings to more formal events. The key is to keep experimenting until you find combinations and styles that resonate with you.
Watercolor Wonders: Soft and Dreamy Effects
The watercolor technique is a beautiful way to achieve soft and dreamy nail designs reminiscent of spring’s gentle hues. To create a watercolor effect, start with a base coat. Once it’s dry, use a small brush or sponge to apply your chosen colors in light, wispy strokes. The trick is to keep the colors slightly diluted to create that soft, blended look.
A step-by-step process for achieving this effect involves:
1. Choosing a palette of spring colors, such as pastel pinks, blues, and greens.
2. Dipping your brush or sponge into a bit of polish and lightly brushing it onto your nails, allowing the colors to blend naturally.
3. Repeating the process with different colors until you achieve the desired look.
Cleanup is essential with this technique, so keep some nail polish remover and a small brush handy for any touch-ups. The beauty of watercolor nails is their organic nature; no two designs will look exactly alike, making each manicure unique.
Nail Art with Nature: Incorporating Real Flowers and Leaves
For those who want to take their nail art to the next level, incorporating real flowers and leaves can create a stunning and natural look. This technique involves pressing flowers and leaves into your nails for a unique design that celebrates the beauty of spring.
To press flowers, gather small blooms or leaves and place them between two sheets of parchment paper. Use a heavy book to flatten them for several days. Once dried, you can carefully apply them to your nails using a clear polish or nail glue.
Combining pressed flowers with your favorite nail polish can create a beautiful contrast. For example, a clear polish over a vibrant floral design can enhance the natural colors and textures, giving your nails an ethereal feel. To maintain the longevity of your natural decorations, be gentle when cleaning your nails and avoid harsh chemicals.
Accent Nails: Creative Focus on One Finger
Accent nails have become a popular trend, allowing you to focus on one finger while keeping the rest of your nails simple. This technique is perfect for showcasing intricate designs or bold colors without overwhelming your overall look.
Ideas for accent nails include using glitter, intricate art, or even a different color that complements the rest of your nails. For example, you could paint all your nails in a soft pastel shade while adding a glittery gold accent on your ring finger. This not only adds a touch of glamour but also allows you to experiment with styles and colors without committing to a full set.
When choosing which nail to accent, consider your hand shape and personal style. Often, the ring finger is the most common choice, but feel free to experiment with other fingers as well. Blending different styles can also create a harmonious look; pair a simple nude polish with a detailed floral accent nail to make a statement while keeping it chic.
Seasonal Symbols: Embracing Spring Themes
Seasonal nail art can be a delightful way to celebrate specific themes associated with spring. From bunnies and eggs to raindrops and rainbows, there are countless symbols to choose from. To create seasonal designs, start with a light base color that resonates with the theme, and then add symbols using fine brushes or dotting tools.
For instance, you can paint little bunnies hopping across your nails or create tiny Easter eggs with vibrant patterns. Combining these symbols with the right color palette will create a cohesive and festive look.
Seasonal nail art not only offers a fun way to express your creativity but also serves as a reminder of the joy and beauty that spring brings. Plus, it’s an excellent conversation starter and can lead to sharing ideas and inspiration with friends and family.
Conclusion
As spring unfolds, embracing the season through DIY nail art can be a fun and creative outlet. With a variety of techniques, colors, and designs at your fingertips, the possibilities are endless. So whether you’re opting for soft pastels, floral fantasies, or geometric glam, remember that the joy lies in the process of creation.
Don’t hesitate to share your beautiful nail art creations on social media to inspire others and show off your unique style. Keep experimenting with new designs regularly to ensure your look remains fresh and exciting throughout the season. Your nails can be a true reflection of your personality and creativity, so let them shine!
Frequently Asked Questions
What are the best colors for spring nail art?
Spring is all about brightening up your look with fresh and uplifting colors. Some of the best shades for spring nail art include pastels like lavender, mint green, and soft peach. Additionally, vibrant floral colors such as bright pinks and sunny yellows can also add a cheerful touch to your nails. Combining these colors can create beautiful gradients and eye-catching designs that reflect the season’s spirit.
How can I make my nail art last longer?
To ensure your nail art lasts longer, start with a good quality base coat to protect your nails from staining and to provide a smooth surface for your polish. After applying your design, finish with a top coat to seal in the art and give your nails a glossy finish. Additionally, avoid exposing your nails to harsh chemicals and excessive water to maintain their integrity.
Can I use regular nail polish for nail art?
Yes, you can use regular nail polish for nail art! Many nail artists use standard polishes to create intricate designs, especially when using small brushes or dotting tools. However, some specialized nail art polishes may offer more pigmentation or quicker drying times, making them easier to work with. Ultimately, it’s about finding what works best for you and your style.
What tools do I need for creating detailed nail art designs?
For creating detailed nail art, having the right tools is crucial. Essential tools include fine nail brushes for painting intricate designs, dotting tools for creating dots and patterns, and nail tape for making sharp geometric shapes. Additionally, a good quality nail polish remover and clean-up brush are important for tidying up any mistakes.
Is it safe to use real flowers on my nails?
Using real flowers on your nails can be safe if done correctly. Be sure to press the flowers thoroughly to avoid moisture, which can lead to mold. Once dried, you can attach them to your nails using a clear polish or nail glue. However, be cautious with how you care for your nails afterward, as natural elements may require more gentle handling compared to regular polish.